Tutorial 5 - Post Processing and Cinemachine
Tutorial 5 - Post Processing and Cinemachine
Following the tutorial, I opened the Package Manger in Unity and installed Cinemachine into the project. I created two Cinemachine Cameras. The Cinemachine Brain component was automatically added to the Main Camera when adding the first Cinemachine Camera.
I positioned the first Cinemachine Camera behind the Player and then dragged in the Player transform into the Look at Target field, later I added it also to the Tracking Target field.
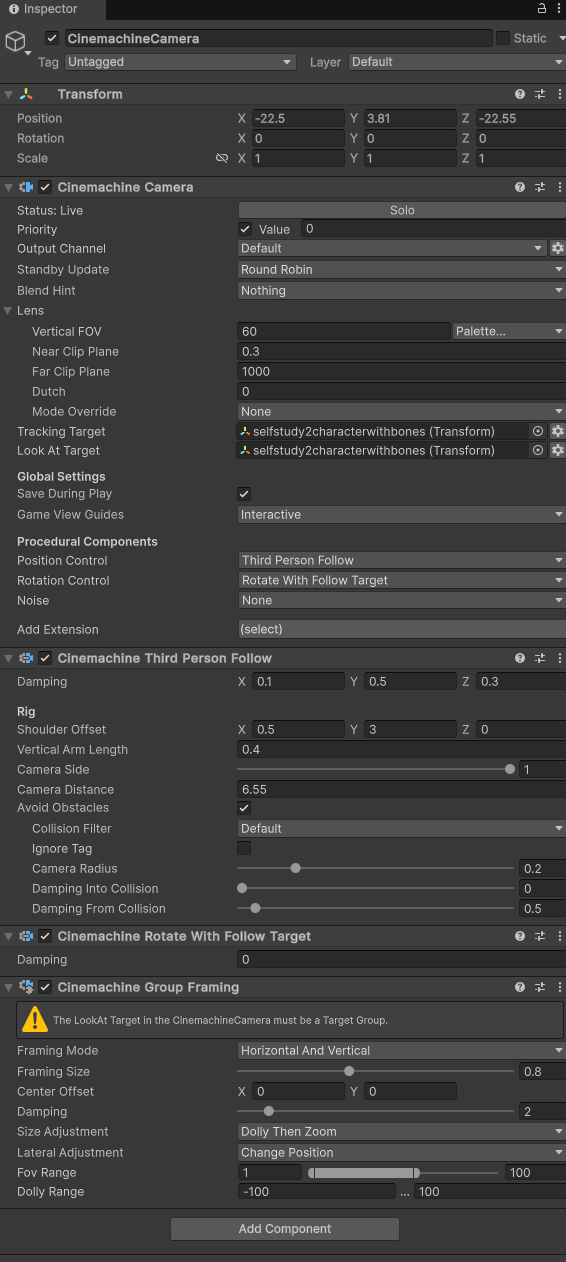
Inspector settings for Cinemachine Camera 1.
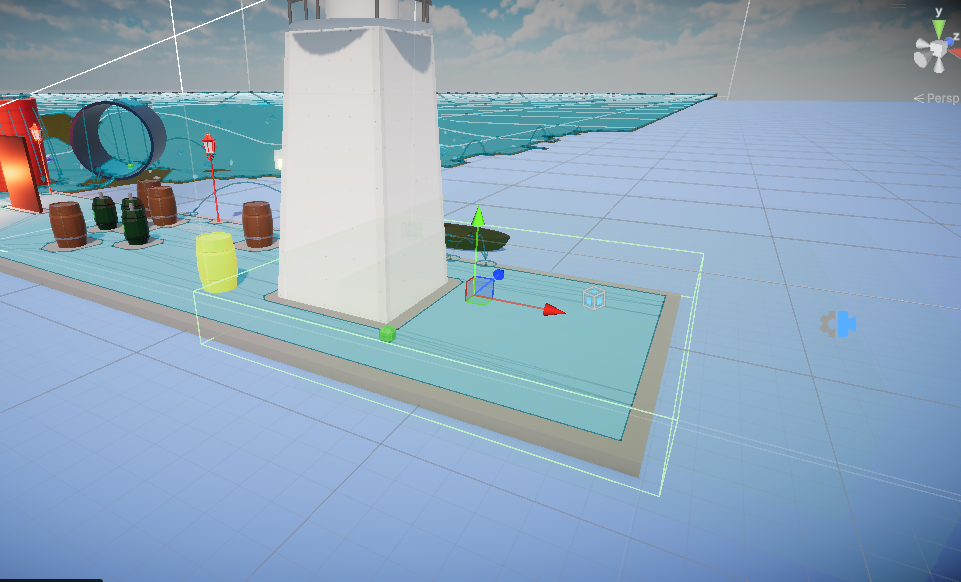
I set the position control to Third Person Follow and for Rotation Control it was set to Rotate With Follow Target. A screenshot of movement with the camera following is below:
Virtual Camera 1 following through the obstacles.
I placed the second Cinemachine Camera (VirtualCamera2) at the end of the concrete plane where the light beacon is located in the scene. I set the Look at Target to be the player character.
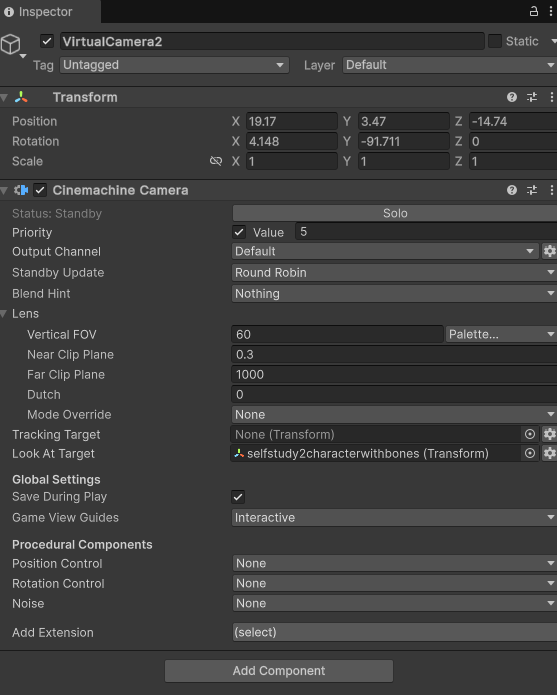
Virtual Camera 2 inspector settings.
The next stage was to set priorities to each camera. Virtual camera 2 was set to priority 5, and Virtual camera 1 was set to priority 10. The higher the priority is the one which would be displayed on the Game screen. I added an empty game object and named it "Trigger", and placed it at the end of the concrete plane where the light beacon is located. So that it could be setup to turn on camera 2 when the player walks into that area it would trigger. As seen below:
Empty game object with a Box collider and set to trigger.
A Cinemachine Trigger Action component was also added. This would allow the Trigger area to change the priorities on the two different virtual cameras depending on when the player enters the area and when the player exits the area. The numbers in the boost amount for priority boost I had to test and adjust with to get it to exit correctly. The numbers of -20 worked for the camera to correctly go back to Virtual Camera 1 on object exit (as it left the trigger area). Numbers as seen below:
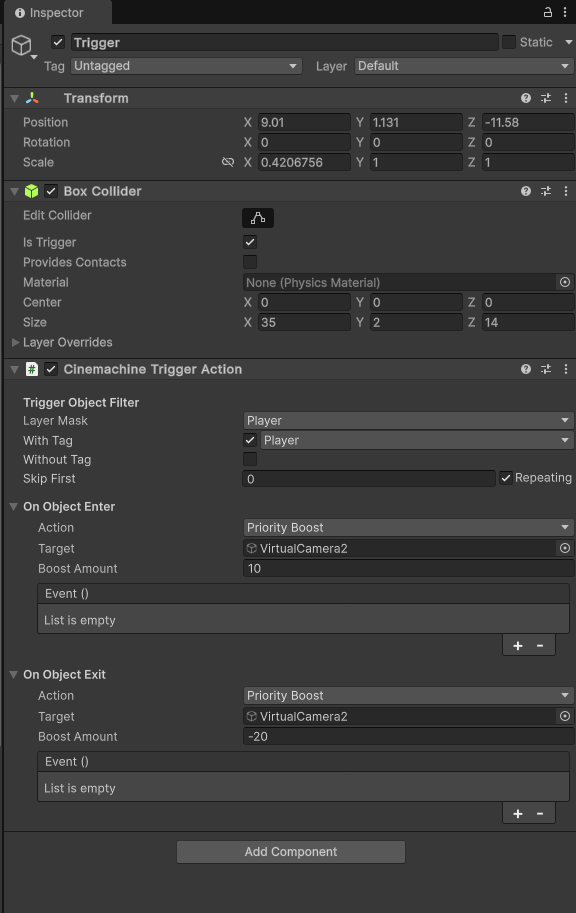
A Cinemachine Trigger Action component added to the Trigger object.
In the Cinemachine Brain component on the MainCamera, settings could be adjusted in the blend settings such as default blend, I found that Ease in Out worked fine for the transitions from virtual camera 1 to virtual camera 2 and back again when leaving the trigger area. Screenshot of the Cinemachine Brain inspector settings below:
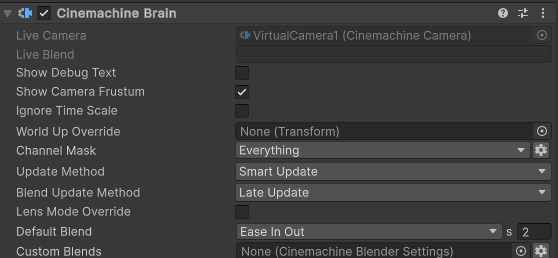
Cinemachine Brain settings.
The next part of the tutorial involved creating a Dolly Camera using Virtual Camera 2. In the Virtual Camera 2 settings I changed the Rotation Control to Rotation Composer, which then added in a Cinemachine Rotation Composer automatically. I switched on the Dead Zone, Hard Limits and Lookahead option in the Rotation Composer settings, and tested different settings.
I then created an empty game object, renamed it to DollyTrack1, then added a Spline Container component to it. Then by setting the DollyTrack1 object, I clicked on the Spline edit tool then Spline Create tool in order to make a Spline that would suit the camera to follow along on at the end of the concrete plank for Virtual Camera 2.
On Virtual Camera 2, I set the Tracking Target to be the Player, then in the Position Control I changed the type to Spline Dolly, and set the path to DollyTrack1 by dragging it into the field. Then I enabled Auto Dolly and set it to Near Point to Target. This enabled being able to test the camera moving along Dolly Track 1. Screenshots are below:
Virtual Camera 2 tracking along the DollyTrack1.
Showing the scene view and game view of Virtual Camera 2 tracking along DollyTrack1.
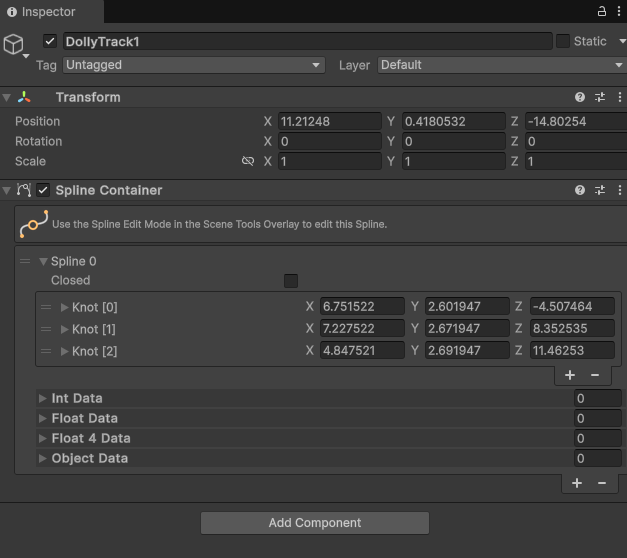
DollyTrack1 Inspector settings.
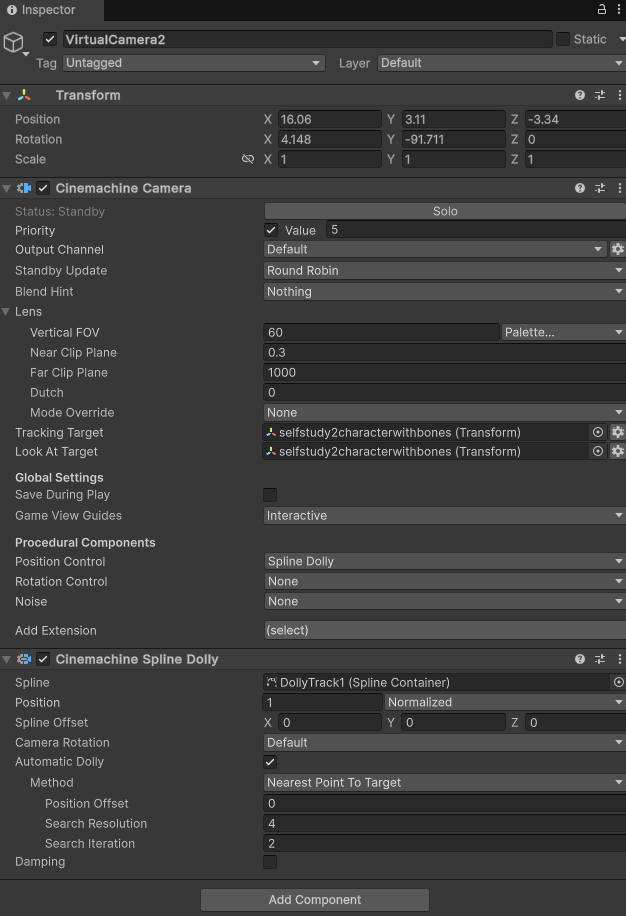
Virtual Camera 2 with Cinemachine Spline Dolly component attached and settings.
For creating a Target Group I created a new Cinemachine Camera and setup a Cinemachine Target Group. I then added a few basic enemy structures to see how the camera could focus on them all, and with settings changes focus more on a player if the weight was set higher for example.
The next part of the tutorial involved Post Processing. For this task I used a Global Volume and a Box Volume, I set a Vignette and Tone Mapping to ACES on the Global Volume.
My Global Volume settings are below:
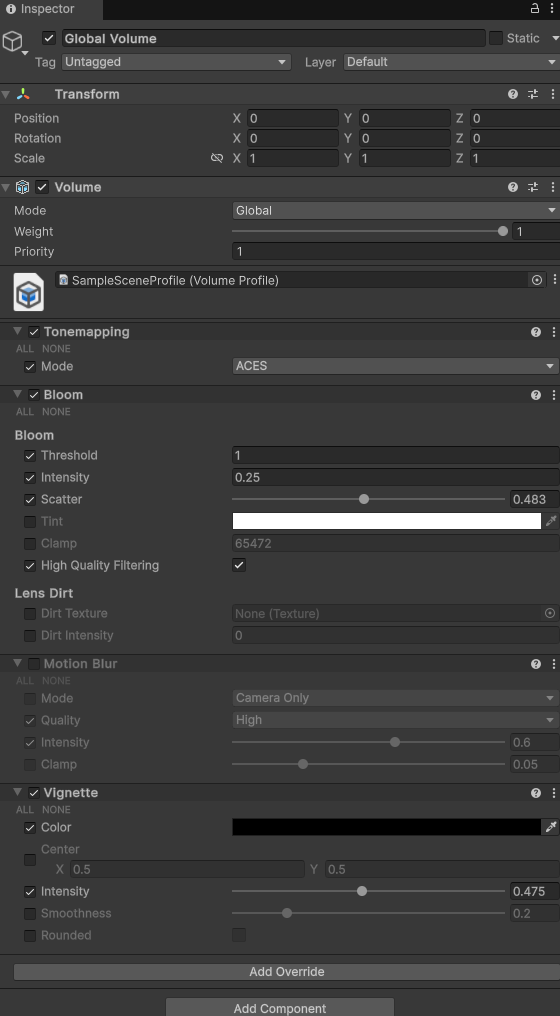
Global volume inspector settings.
Setting for my Box volume for when the Player reached the area at the end of the concrete plane, it would make the scene be slightly more exposure and with film grain and lens flare kind of to be like a camera feed at the end of the concrete plane, although in the scene there is no actual visual camera that the player can see to represent one. Although the screenshot below of the transition doesn't show the lens flare very well, the screenshot and a screen shot of inspector settings are shown below:
Transition to virtual camera 2 with some colour adjustment, film grain and lens flare.
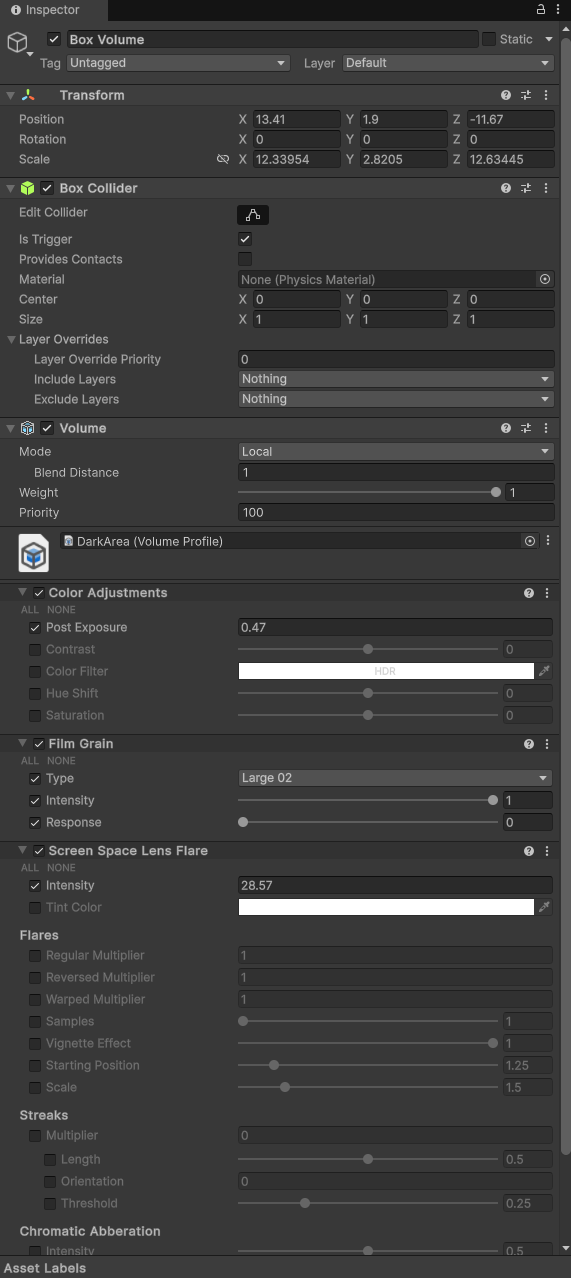
Inspector settings for the Box Volume, the profile is still named DarkArea but I changed the idea to go brighter with film grain and lens flare in the end.
Custom Post-Process Effects were unable to be used for my project using URP as mentioned in the tutorial instructions. However, I followed along with the tutorial where possible, adding a new script called Grayscale and applying the code provided. I then created the shader, which was an image effect shader, and put the code provided over the top of its code. From there as mentioned in the tutorial, the process would be just to add the custom effect to a post process volume under Add effect.
Leave a comment
Log in with itch.io to leave a comment.