Self Study 2 - Bones, Rigging, and Animation
Self Study 2 - Bones, Rigging, and Animation
For this study I started on continuing to watch videos such as Rigging Intro, Parenting, Armatures, Copy Limit Constraint, Tracking Constraints, Transform Constraints, Character Rigging, Inverse Kinematics, Vertex Groups, Bone Layers. These are the Blender Fundamentals videos by (Blender, 2019) which can be accessed here: Blender Fundamentals 2.8 - YouTube
I also watched this speed tutorial video on rigging by (Royal Skies, 2019) which can be accessed here: Blender 2.8 Rigging Tutorial In 5 Minutes!
After that I found these videos to be very useful in learning the processes and to follow along when creating my character and for rigging the character, the videos are made by (Imphenzia, 2021) and can be accessed below:
Easy Low Poly Character Modeling in Blender 2.9x
Rig a Low Poly Character in Blender 2.9x
Creating and Rigging the Character
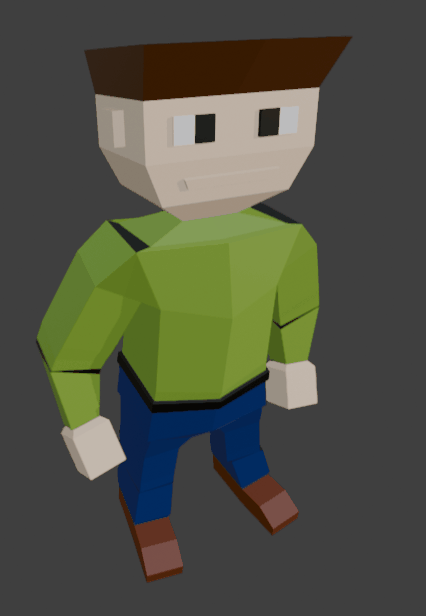
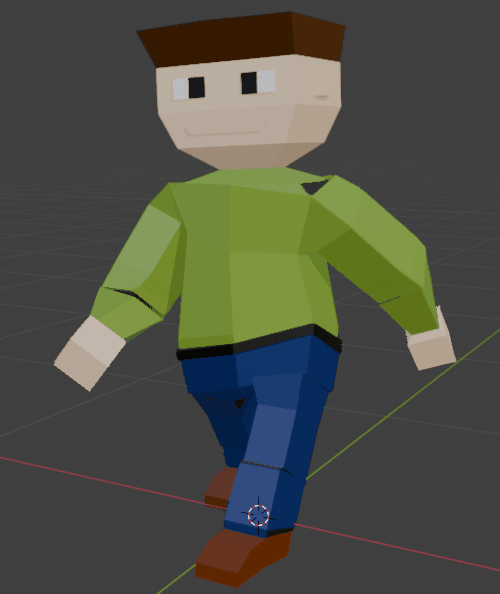
I followed the Easy Poly Character Modelling in Blender 2.9x to create my 3D character model in Blender, and to setup the Armatures (Bones). The character I created is inspired by following the videos by (Imphenzia, 2021). I found this very good for learning the process. I then put some texture on the character as previously learnt. There were some challenges with the textures but I persevered and got them setup by starting over again, as on my first attempt at applying the texture and closing the Blender, I realised I had forgotten to save the texture file within the Blender menus and lost that progress, pretty easy to forget to save it, the image file save area is marked with an * next to 'Image' which indicates it hasn't been saved or needs to be saved again.
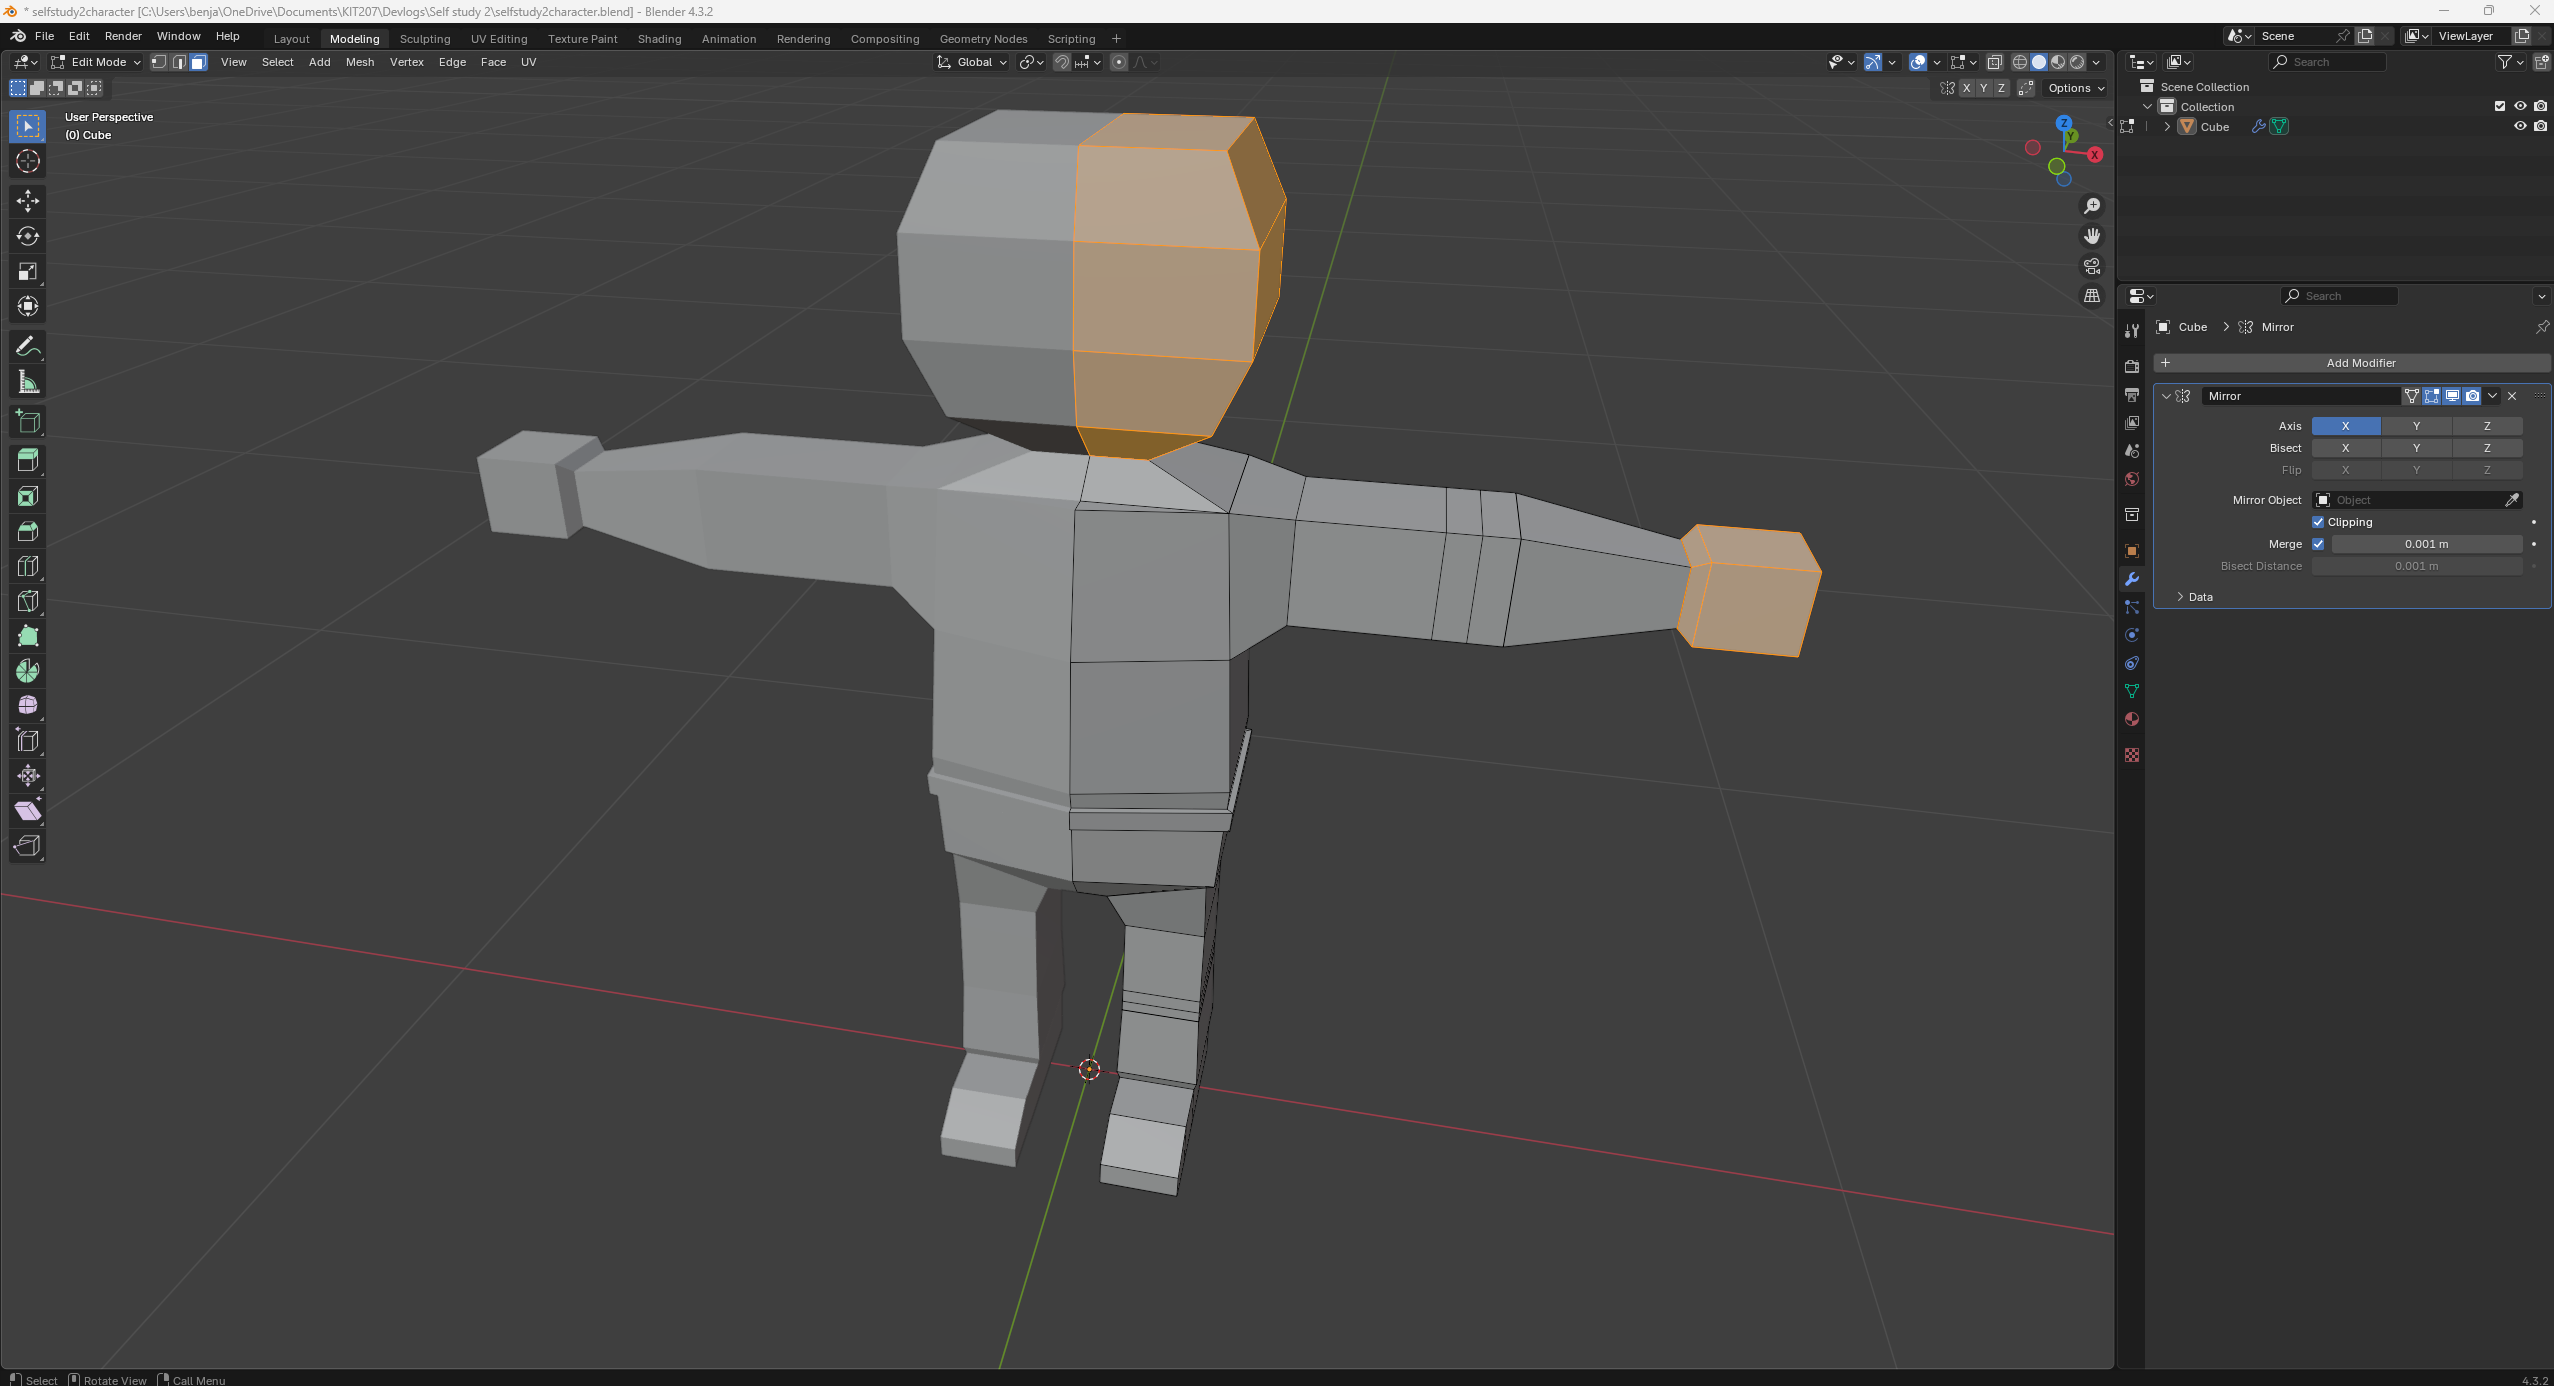
Mirror Modifier used whilst creating character, key lesson was to hit apply on the modifier when ready.
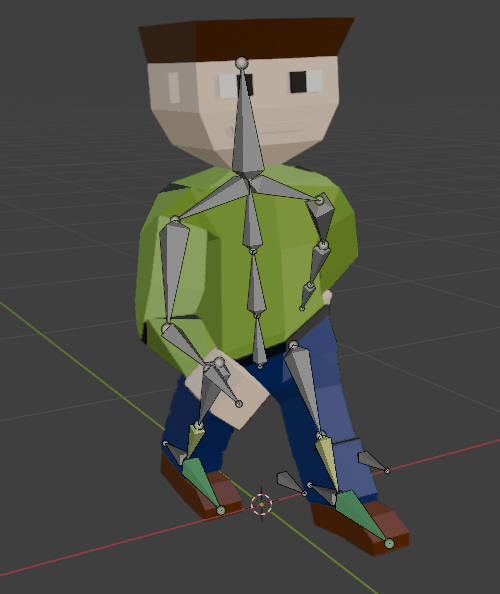
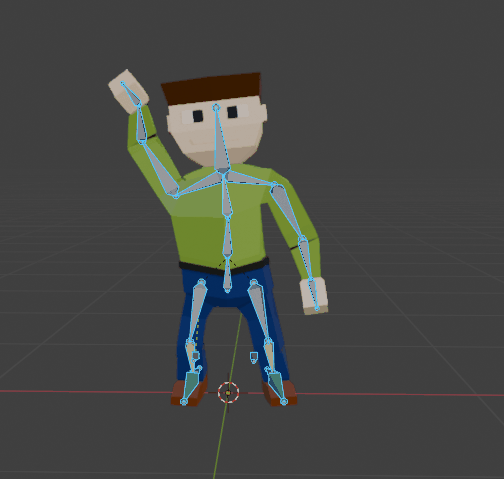
For both creating and rigging the character I used the mirror modifier, very helpful when making the shape for the character and also when putting the Armatures (Bones) into the character. I included upper arms, lower arms, hands, upper legs, lower legs, feet, 3 x spine, head and there is an IKTarget at the back of the feet, and at the knees there is an IKLegPole. I followed the process to learn about these in the videos, I believe the IKTarget and IKLegPole helps with the movement of the armatures and animation setup.
There were many tips to do in the videos such as slightly adjusting the elbows and knees. I found the whole process of creating and rigging a character a very long process time wise. However, I was learning the skills for the first time and the videos I was following were very good for learning. I didn't have any major hurdles or stoppages of progress; everything seemed to flow and work well.
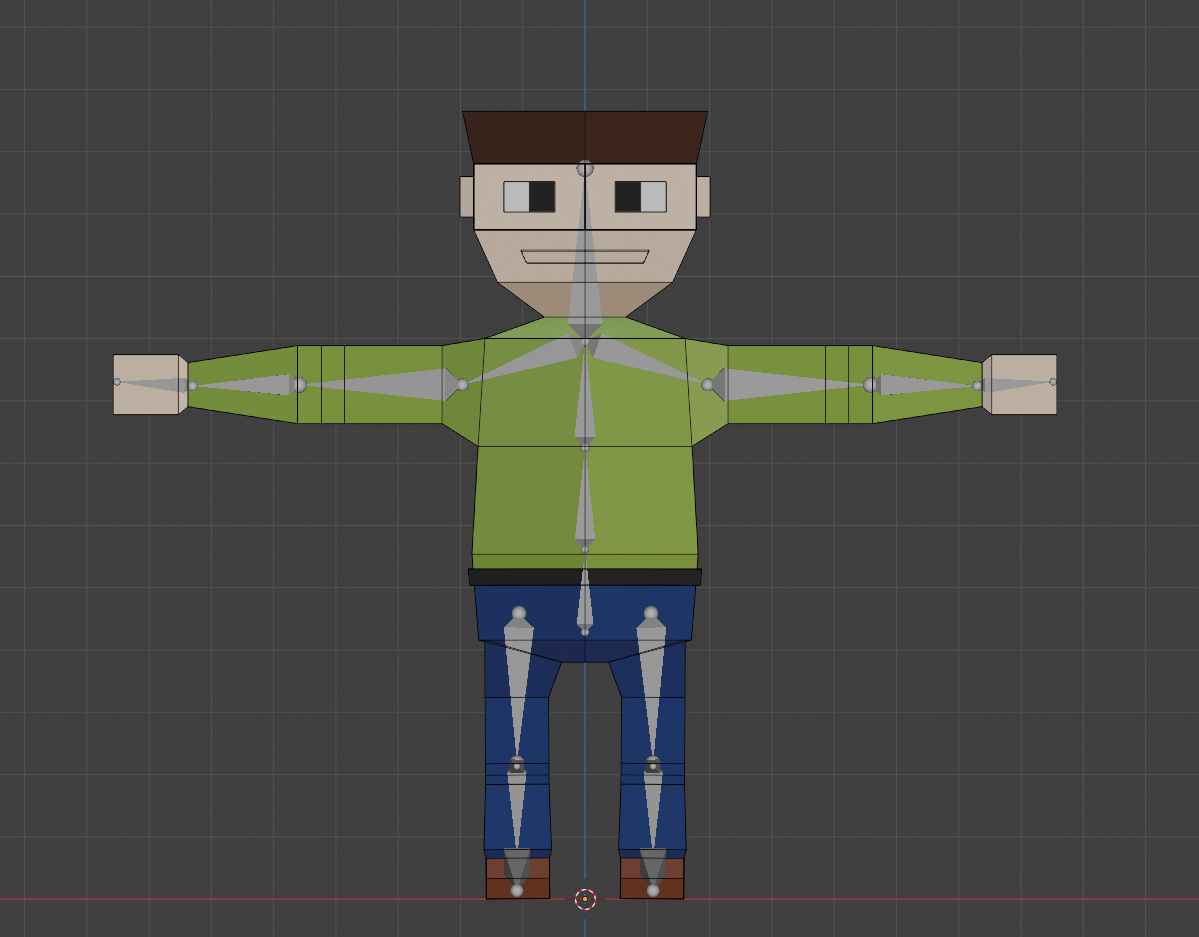
Armatures in place.
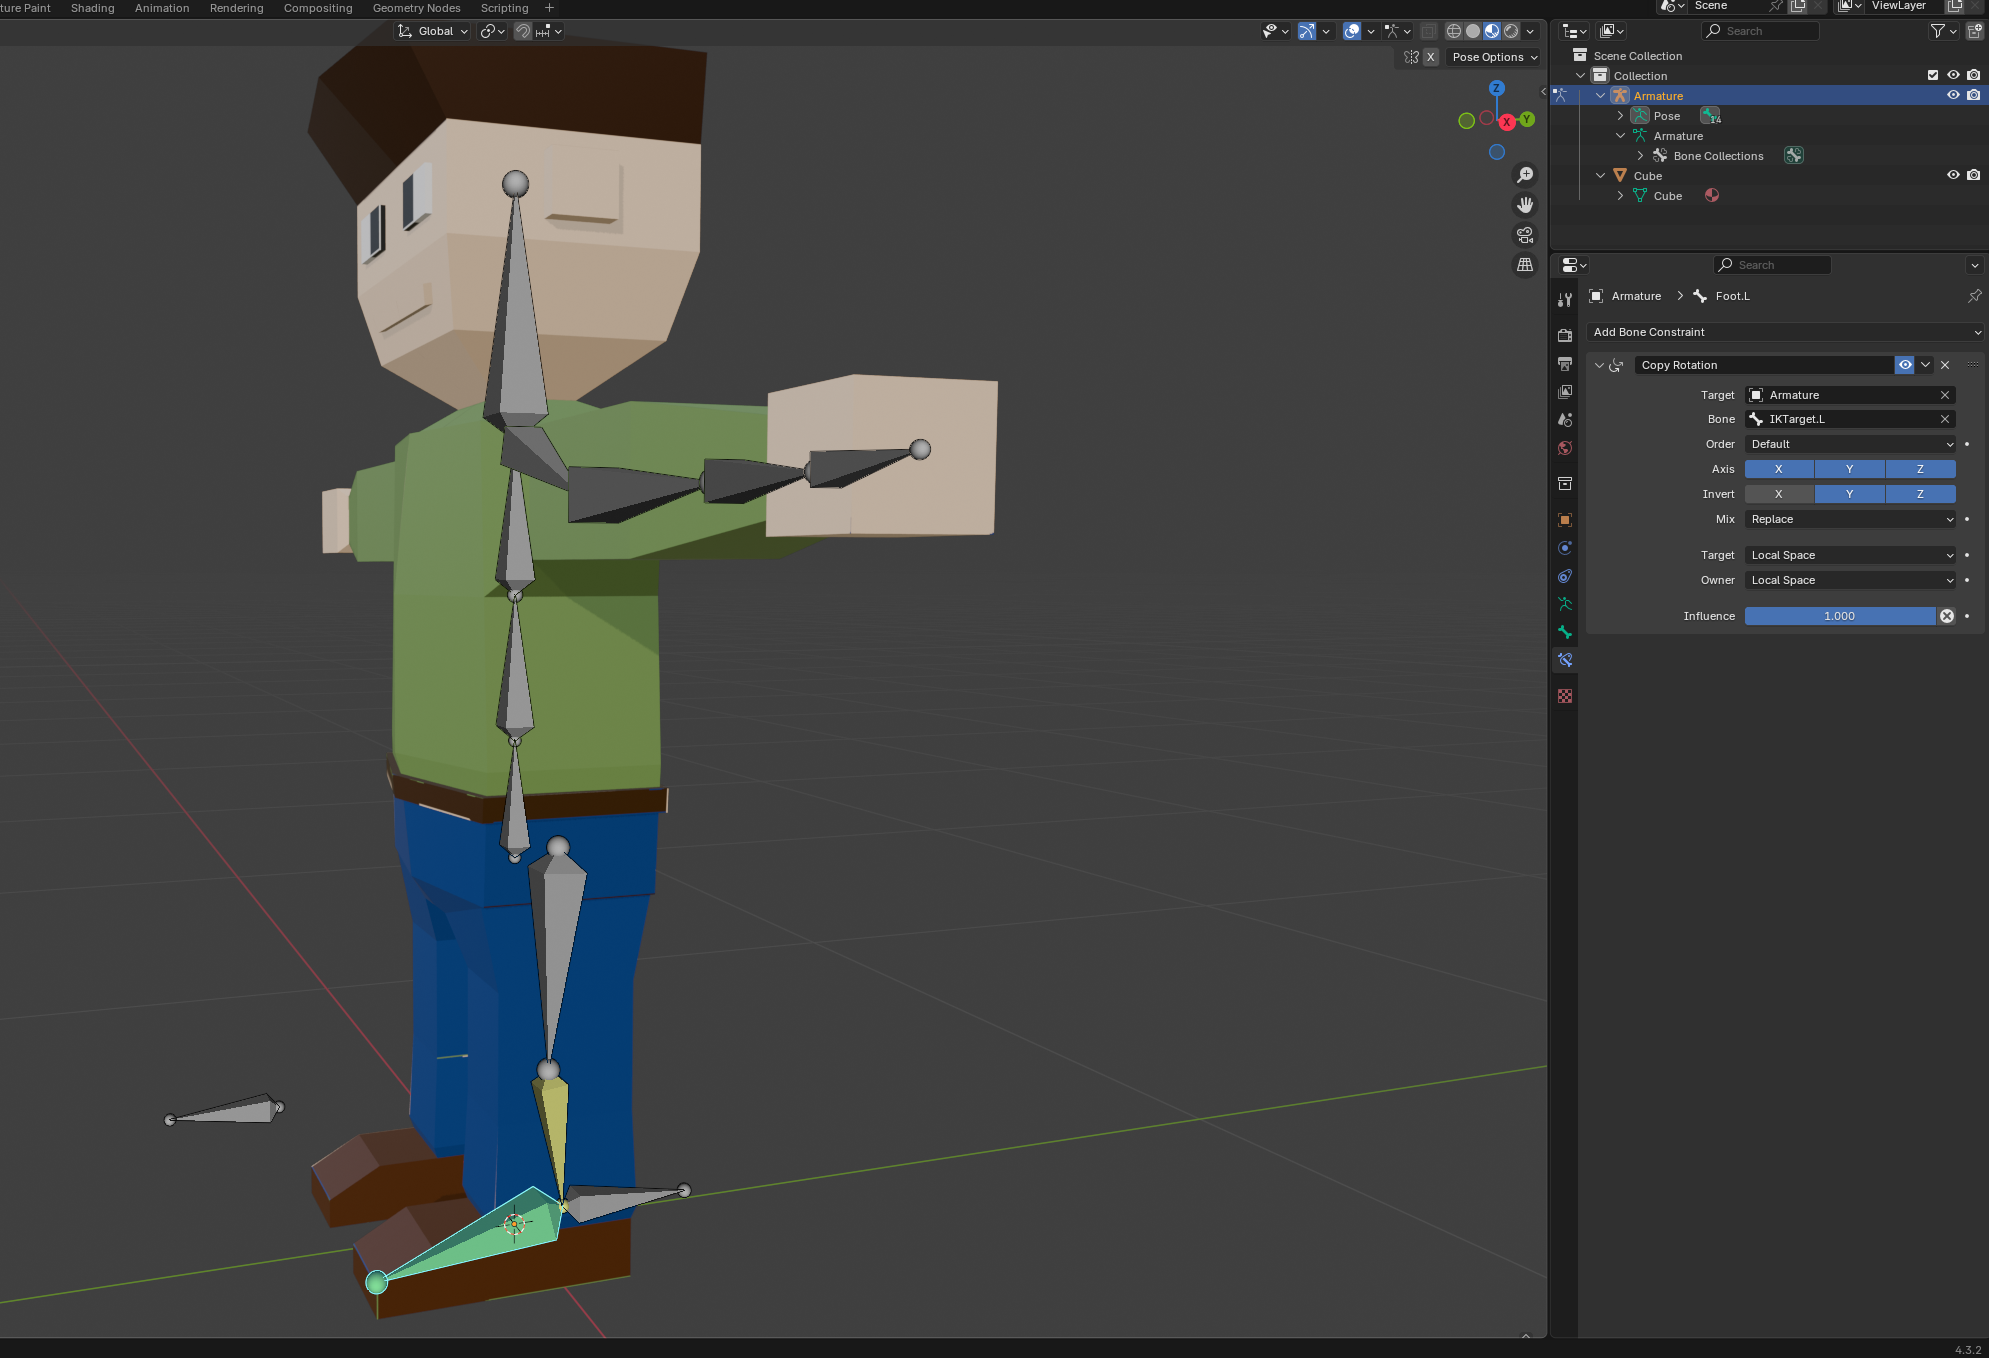
Another potentially important lesson was Inverting the y and z axis, so that the bones move correctly rotate on y and z axis in the foot.
Animating the Character
For animating the character I also followed this video Key Frame Animation of Low Poly Character in Blender 2.9x by (Imphenzia, 2021). So far in Blender I found animating the character to be the easiest part of the process to learn and setup, as in I found creating and rigging the character to be a more difficult and lengthy process. For making the Idle animation I moved different armatures around such as the spine and arms up slightly, with slight rotation on the spine, it created an exaggerated breathing effect, gives the character an idle animation without it being completely still.
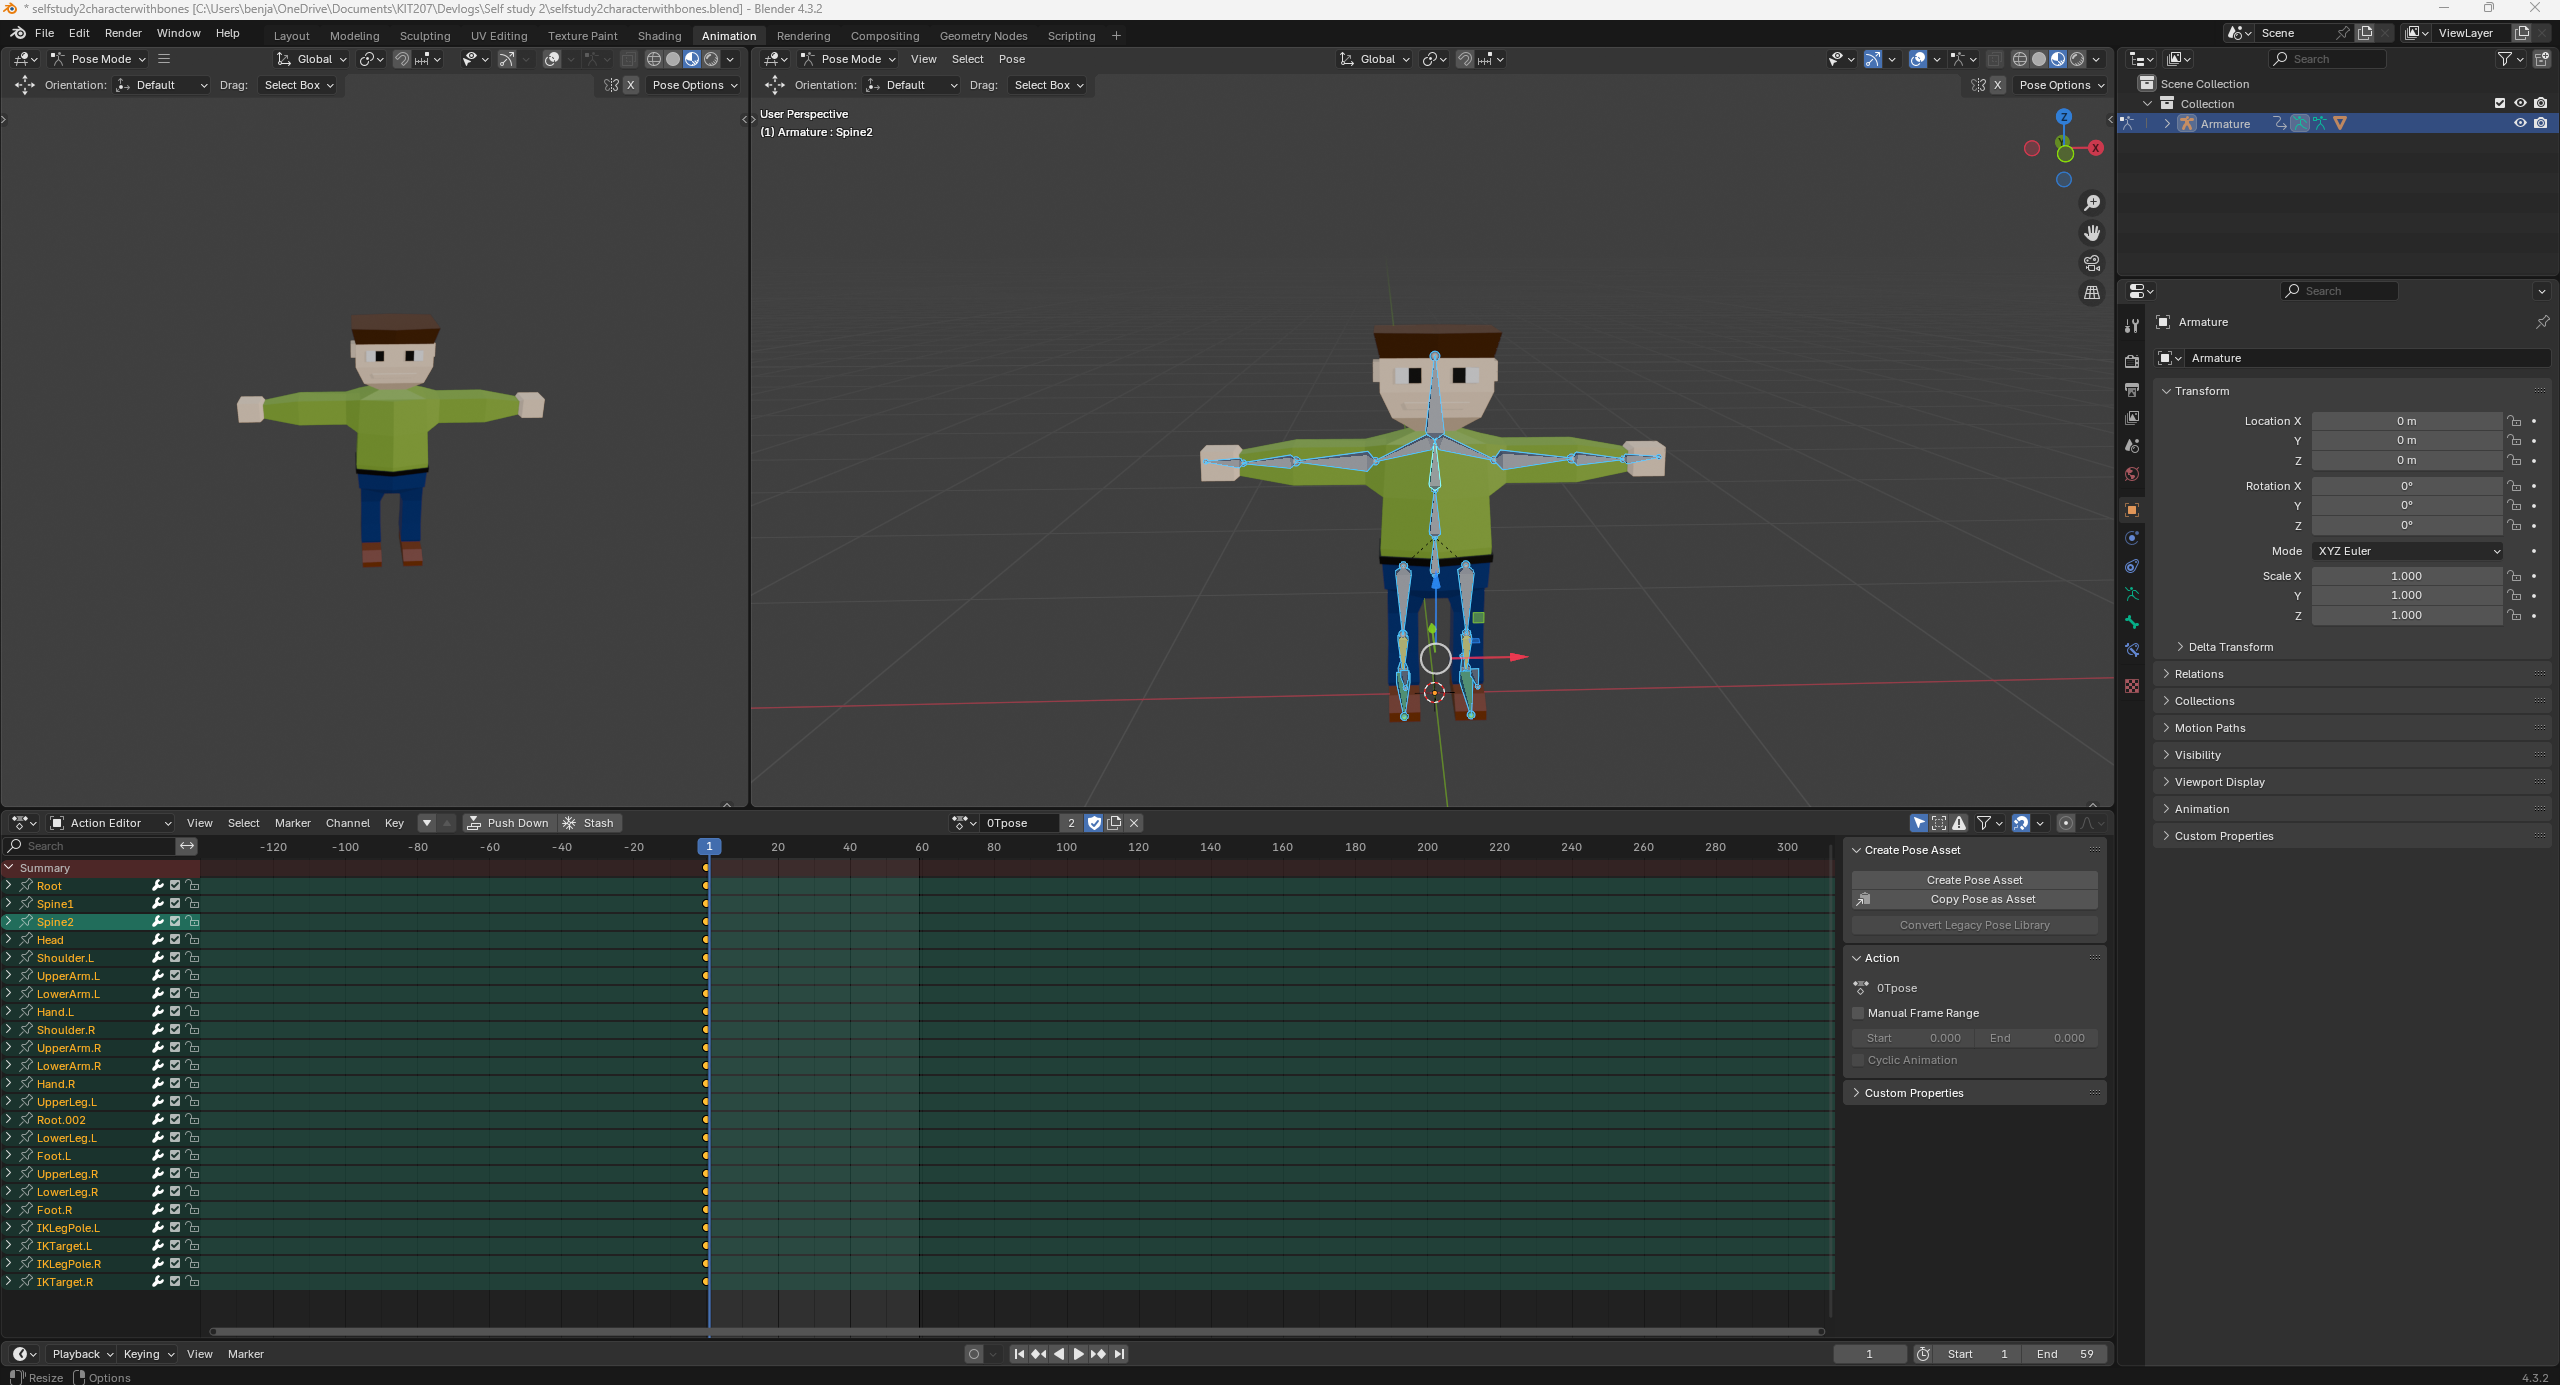
The T Pose.
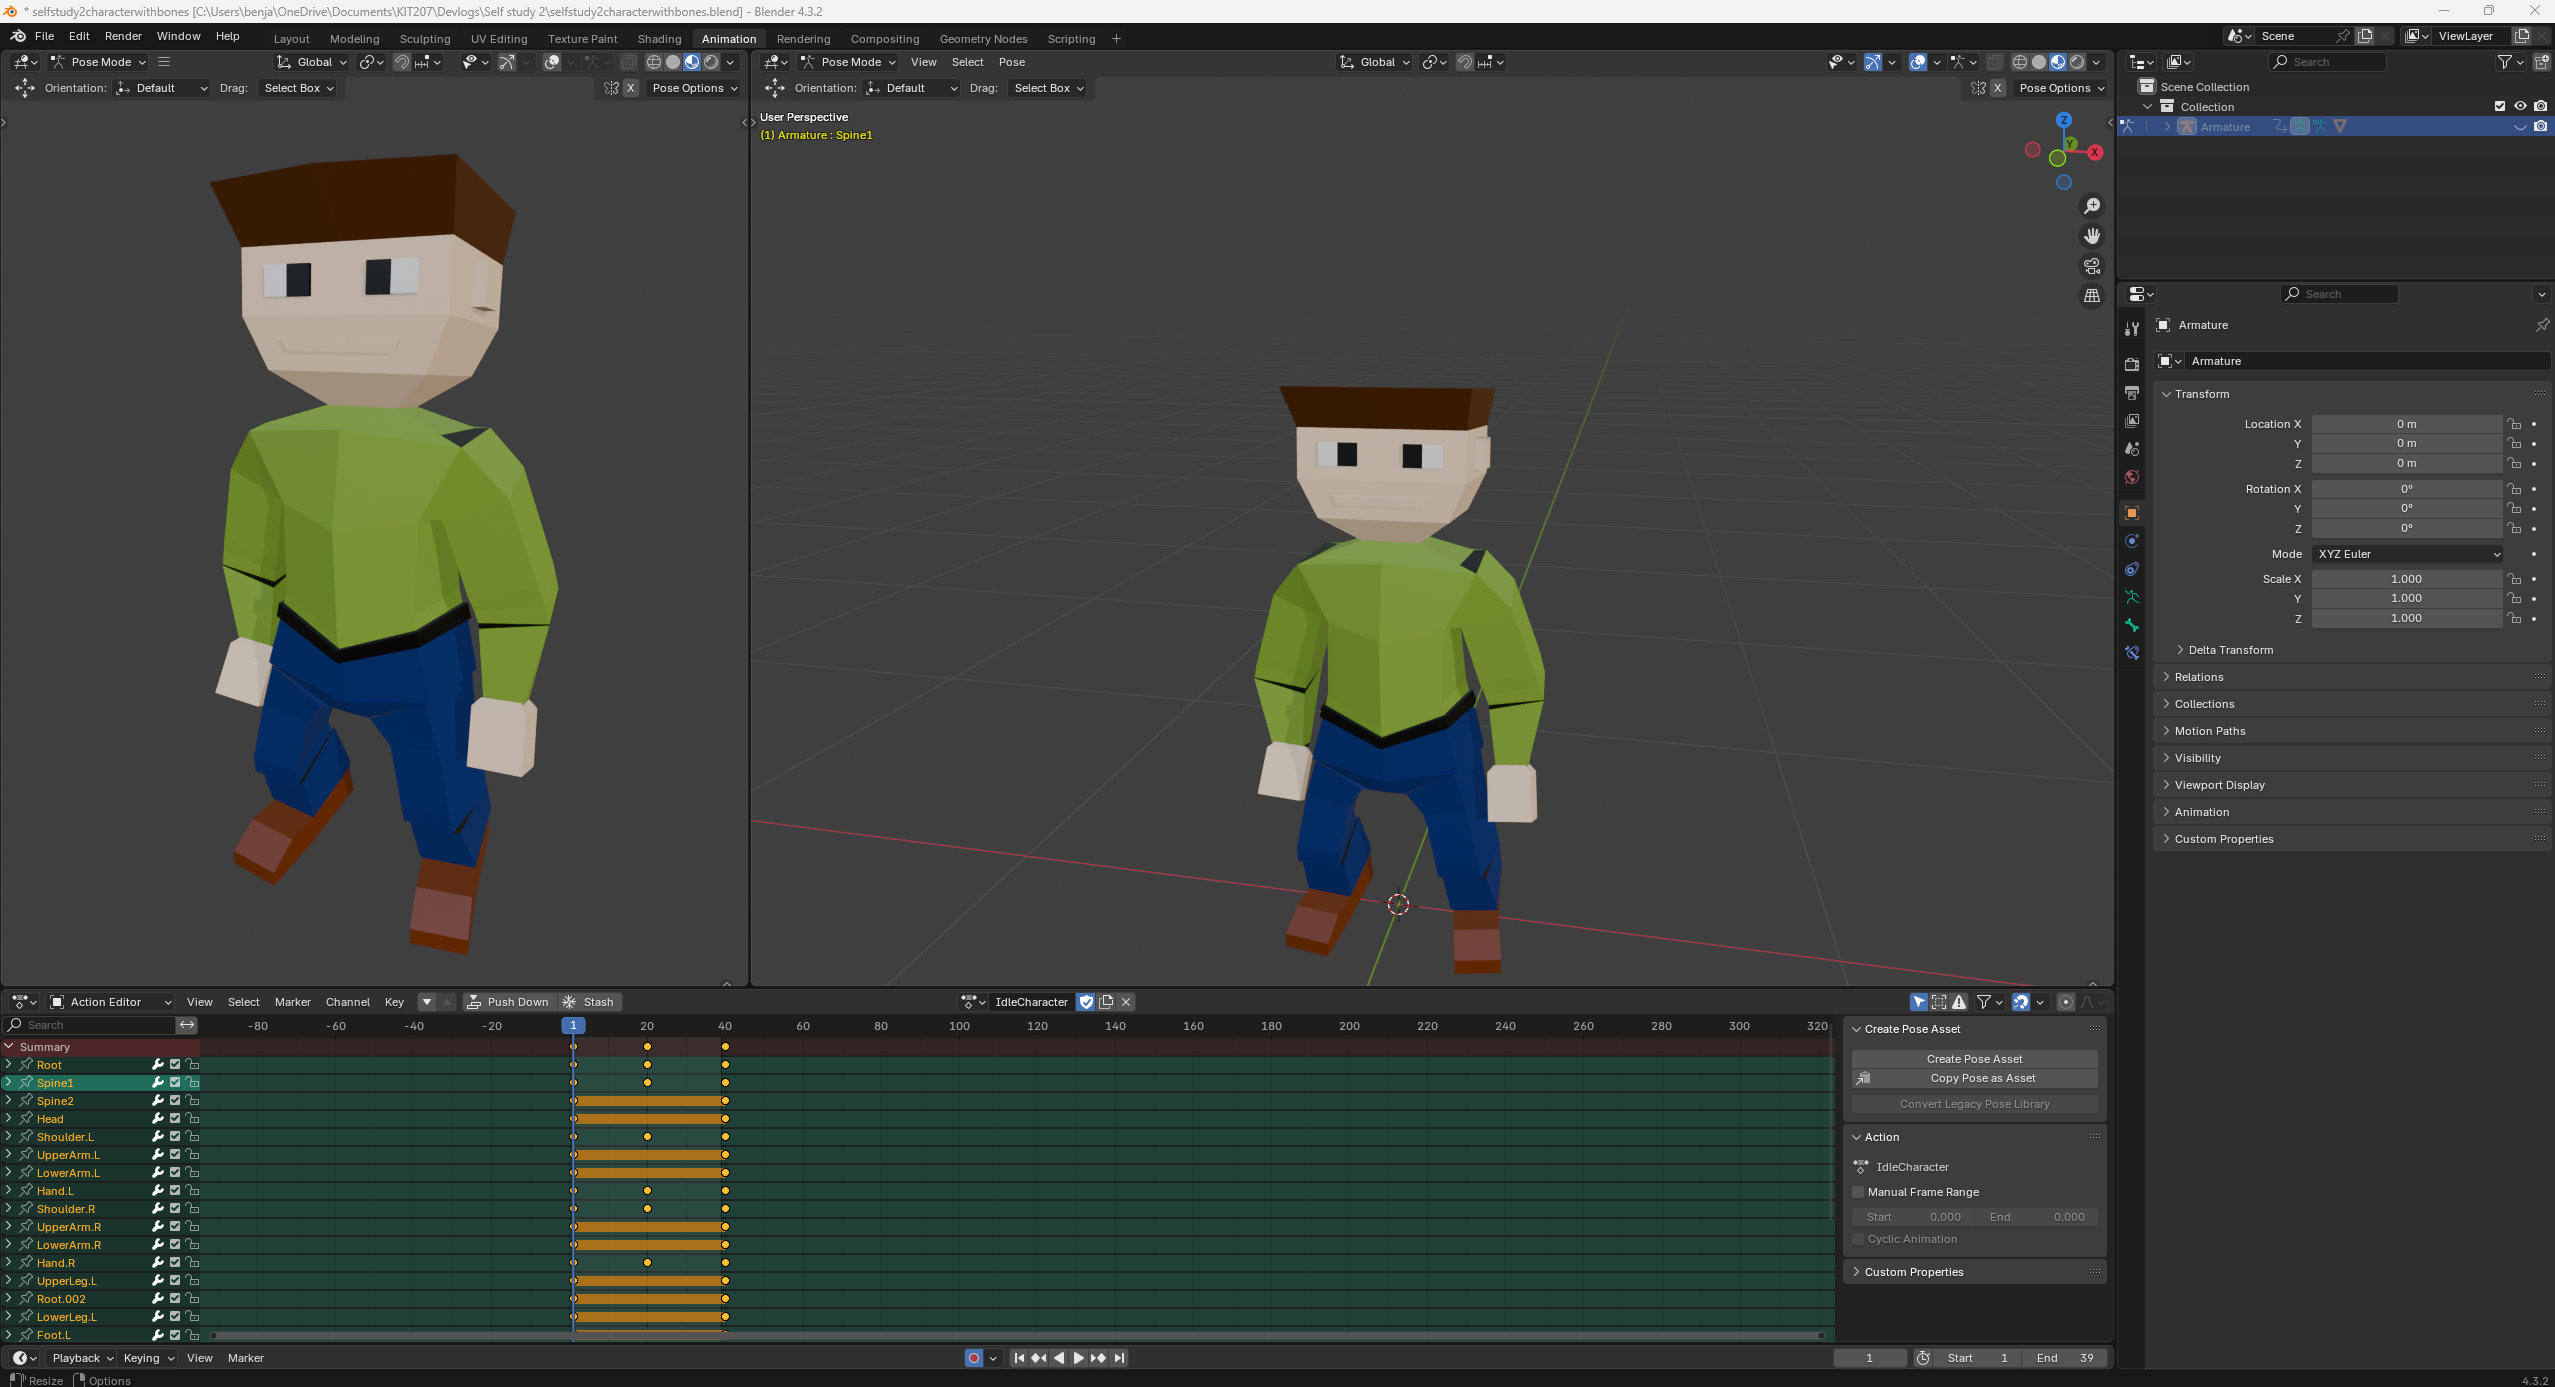
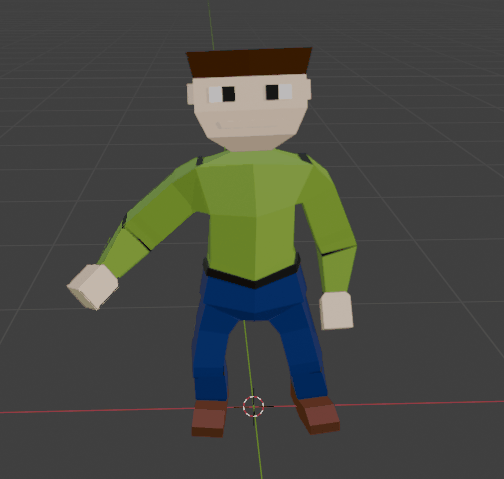
Idle Animation setup.
Idle animation.
I searched on the internet for a reference picture to model the walk on, below is the reference picture I used. The reference picture I used was found on a blog post written by (Almazing, 2014) it can be accessed here: ALmazing!: Walk Cycle Reference
Then I extended the legs and arms as seen in the picture at different keyframe positions within the Blender Action Editor. Throughout the process I found it useful to apply the Cyclic modifier from within the action editor and within the graph editor, it seemed to improve the animation slightly for these looping animations. I also added some spine movement left and right to give the head some sway when the character is walking.
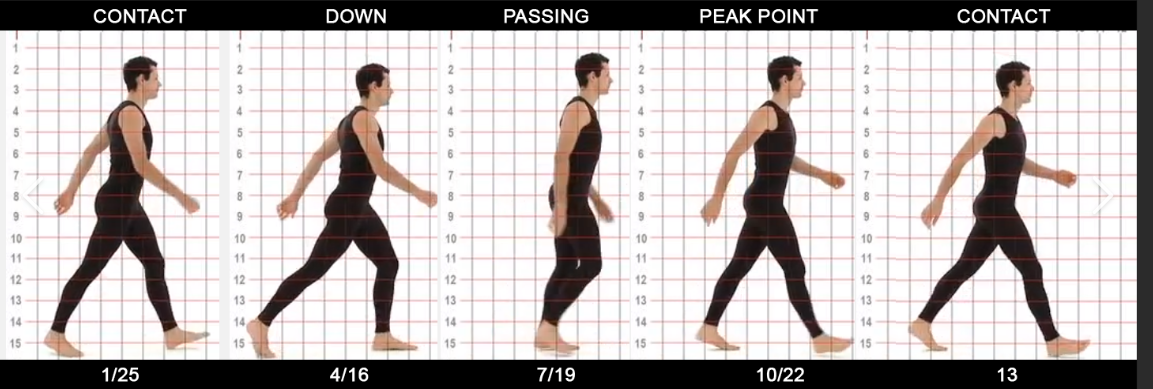
Walking animation reference to model the walk on.
Walk animation of character with Armatures showing.
Walk animation of character.
To create the wave animation below, I raised the armatures of the upper arm, lower arm and hand and moved them around at different keyframes, this was put over the top of the idle animation and it also included some spine movement left and right.
Wave animation with Armatures showing.
Wave animation.
References:
Blender, 2019, YouTube Video, Available at: Blender Fundamentals 2.8 - YouTube (Accessed 07/03/2025)
Royal Skies, 2019, YouTube Video, Available at: Blender 2.8 Rigging Tutorial In 5 Minutes! (Accessed 07/03/2025)
Imphenzia, 2021, YouTube Video, Available at: Easy Low Poly Character Modeling in Blender 2.9x (Accessed 07/03/2025)
Imphenzia, 2021, YouTube Video, Available at: Rig a Low Poly Character in Blender 2.9x (Accessed 08/03/2025)
Imphenzia, 2021, YouTube Video, Available at: Key Frame Animation of Low Poly Character in Blender 2.9x (Accessed 08/03/2025)
Almazing, 2014, Blogpost containing reference image, Available at: ALmazing!: Walk Cycle Reference (Accessed 09/03/2025)
Leave a comment
Log in with itch.io to leave a comment.