Player Movement

Player Movement
This week the goal was to implement player movement for the Player. This was the beginning of my project in Unity itself. I searched online for a suitable sprite to use for my Player. I was looking for a sprite that could move with at least 8-way movement in the 2D game.
After spending some time searching online, I downloaded the sprite, the 8-direction Top Down Character (Gamekrazzy, 2024) on the itch.io website, and then imported them into my Unity project. The sprite files came in as blocks of 4 sprites when I imported them into Unity. So, they had to be spliced using the Sprite Editor. I set the sprite mode to Multiple. I also changed the Filter Mode to Point (no filter). After splicing 16 images which included the 8-way movement and 8 idle images for each direction, I then dragged in each of the files to create Animation Clips. I named these walking sprite animation clips to match their directions such as N, NE, E, SE, S, SW, W, NW and the same for the idle sprites.
I created an empty game object and named it Player. I then added a Rigidbody 2D and set its Gravity and Angular Drag to 0. I added a Polygon Collider2D, and an Animator. I then set the PlayerController (Animator Control) on the Animator.
I created a new layer called Player in the Inspector, and set the Player object to the Player layer, I also tagged the Player as Player in the Inspector. I imported scripts such as Eight Way Movement and Player Shooting (KIT109 Tutorials, 2024) to be used for the movement and shooting actions.
The upwards movement can be thought of as (N for North) or (upward direction) in the 2D game, so overall the 8-way movement can be thought of as movement in these 8 directions: N, NE, E, SE, S, SW, W, NW.
I then set the Eight Way Movement script onto the Player object and opened the PlayerController so that I could set up the Walking, Idle states and Shooting states in the Animator window. I setup the Parameters such as XSpeed and YSpeed and added a Shooting and Walking parameter. In the inspector for each state I adjusted exit time, adjusted BlendTree parameters where necessary. I also added conditions for the transitions.
In the Walking state I added motion by dragging in the appropriate Animation Clips using the blend type of 2D Simple Directional and mapping it to PosX and PosY positions. I had gone through similar steps in previous tutorials. I found it useful to read back over previous tutorials and refresh understanding. I then copied the Walking state I had setup and made the Shooting and Idle state and set them up appropriately.
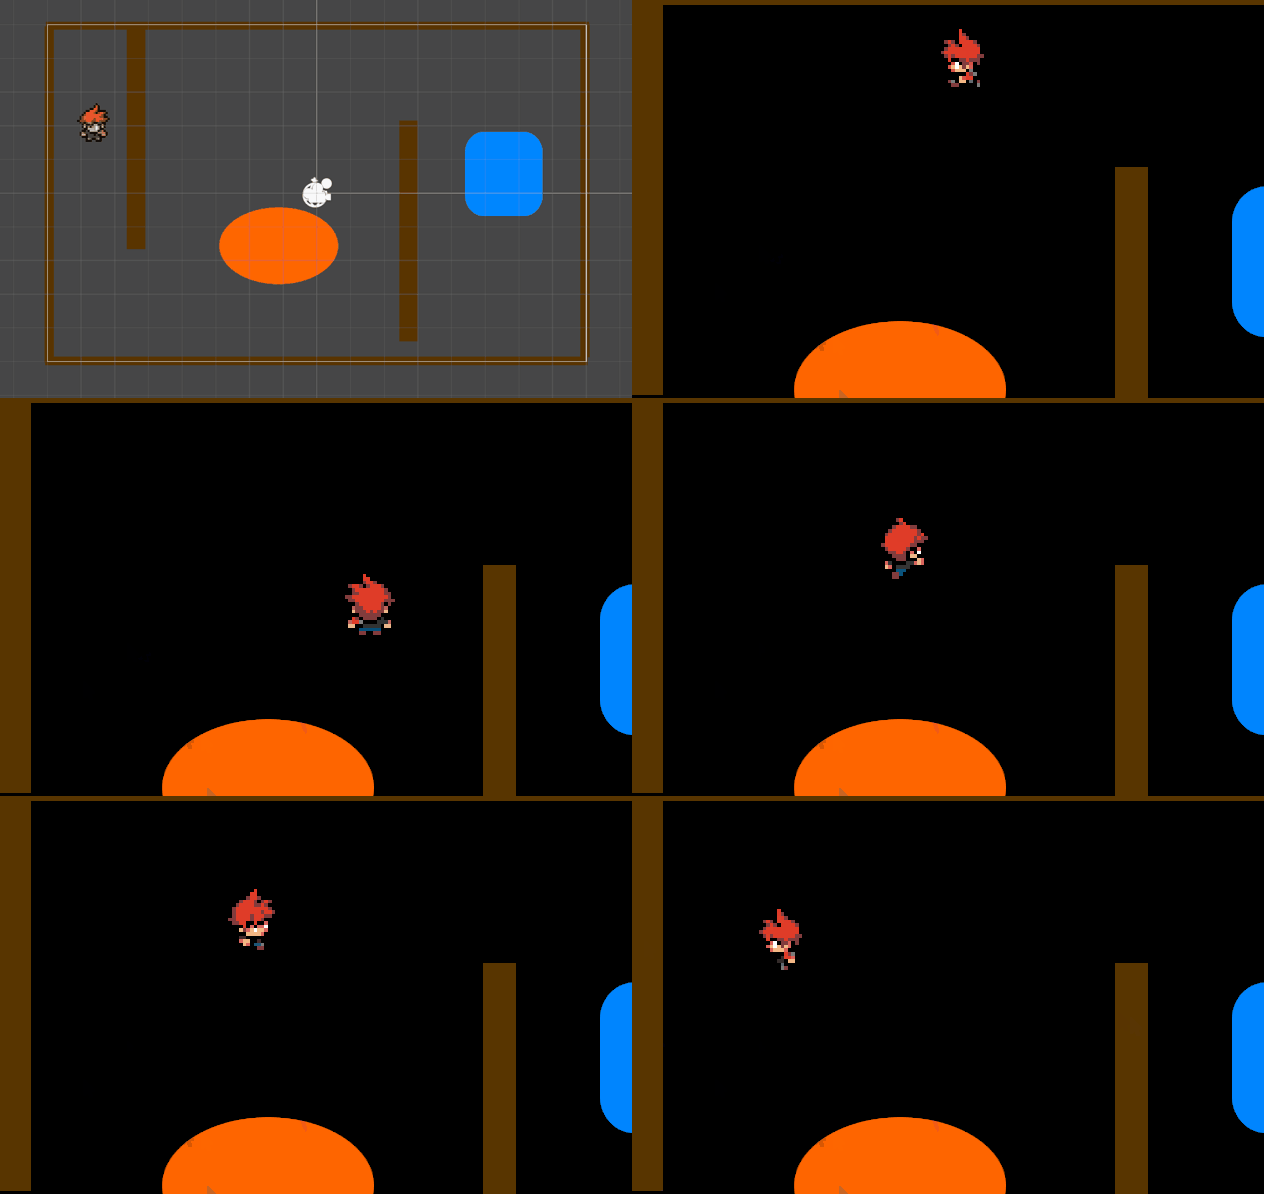
The process to implement Player Movement was generally a good experience, no significant issues or delays encountered. I added some basic walls and shapes to the game scene just to test the colliders and PlayerMovement.
During testing of the game for Player Movement I noticed my sprites were not looking correct, it had distorted colours around some areas of the sprite such as grey blocks, which you may be able to see in the first image within the gif image at the top of this Devlog. I recalled in previous tutorial sessions that there was a way to fix that, I eventually found that by changing the compression mode to None worked very well to fix the look of my sprite. So, I applied the compression None setting to all my sprites.
Feedback
Feedback was sought, feedback has been positive regarding the Sprite. There was feedback regarding the walking animation, how it was described is that it would spend 80 percent of the time on one frame, then 20 percent of the time on the next frame. This was particularly useful feedback, and I adjusted the settings in the Animator to correct this issue. Which resulted in a much smoother looking walking animation, and the walking animation looked faster as a result.
I received feedback about the Player getting caught on one of the objects I put in the game to test the colliders on the Player from a Polygon Collider 2D to a Circle Collider2D, this should perform better and result in less situations where the Player will get caught on another object. In the gif image at the top of this Devlog you can see the original Polygon Collider2D that I edited around the player, but at this time I have changed it to a Circle Collider 2D as also seen in the gif image.
Further developments
This week I have also drawn a sprite to be used for a Bullet Prefab to go along with my Shooting script. It is a pistol round that I have drawn using the Paint application in Microsoft Windows. The image should be sufficient for its purpose as a small round and the projectile will be fired at the Enemies within the game. At this time, I have no gun attached to the player, but the player can shoot the pistol rounds using the left mouse button and aim with the mouse.
References List
Gamekrazzy, 2024, 8-direction Top Down Character, https://gamekrazzy.itch.io/8-direction-top-down-character
KIT109 Tutorials, 2024, Eight Way Movement.cs, Tutorials 8-15Interactive.
KIT109 Tutorials, 2024, Player Shooting.cs, Tutorials 8-15Interactive.
Files
Cave Rescue Run
| Status | Prototype |
| Author | ben1yeah |
| Genre | Adventure, Action |
| Tags | 2D, Action-Adventure, Singleplayer, Top Down Adventure, Top down shooter, Unity |
More posts
- TestingOct 27, 2024
- Documentation + User GuideOct 24, 2024
- Polish and UIOct 20, 2024
- Game TestingOct 17, 2024
- Presentation and GraphicsOct 13, 2024
- Enemies and InteractionOct 06, 2024
- Basic Level BlockingSep 29, 2024
- Game ConceptSep 13, 2024
Leave a comment
Log in with itch.io to leave a comment.